Example: Templating images |
Docentric Toolkit Help
Send Feedback |
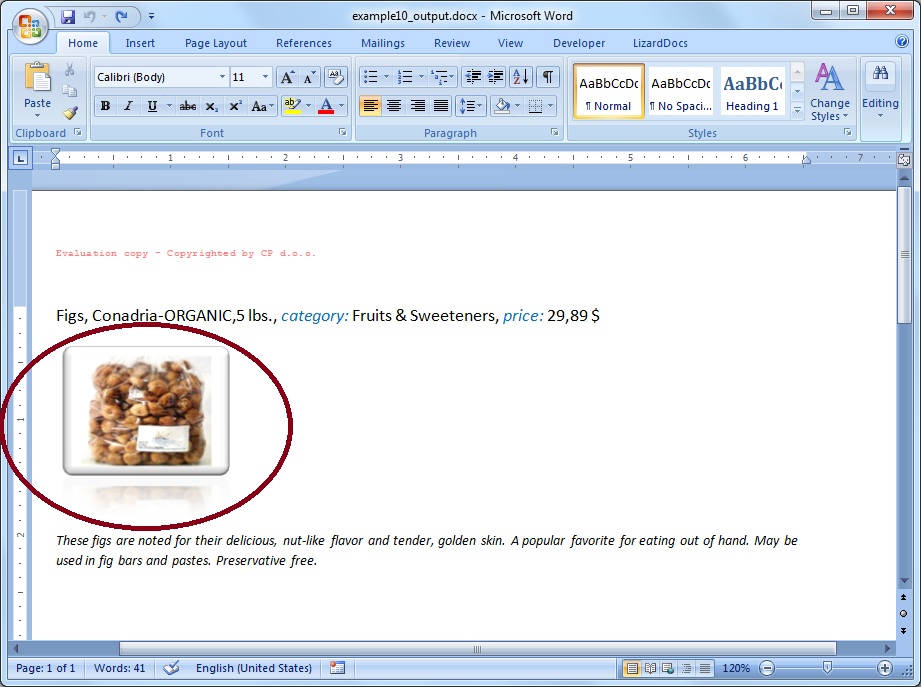
In this report, we want to write out some data of one particular product e.g. product’s name, category, description, price etc. including the product's picture. Data model used for all examples is exposed here.
Initially, we are creating a report template. Follow the common preparation steps to start building the template from scratch:
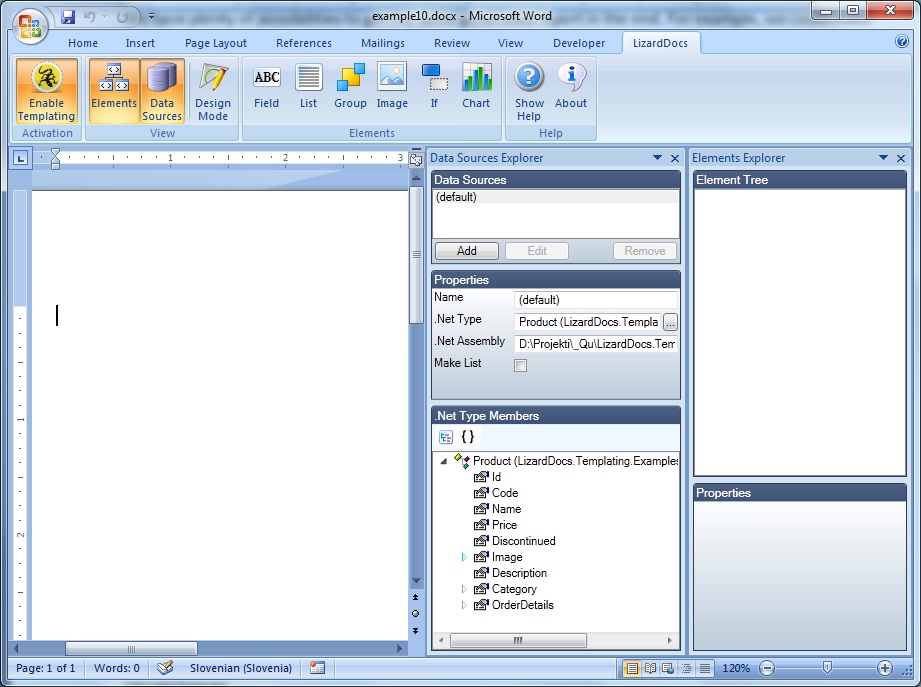
- Open a new blank Word document and enable it for templating
- Turn on Data Sources and Elements Explorers
- Define default data source as the Product class
After that, you should be at the following point:
Insert Field elements bound to the products's name, category, description
and price by configuring their Binding Source and Path properties
(for detail explanation please look at
Templating single values example):
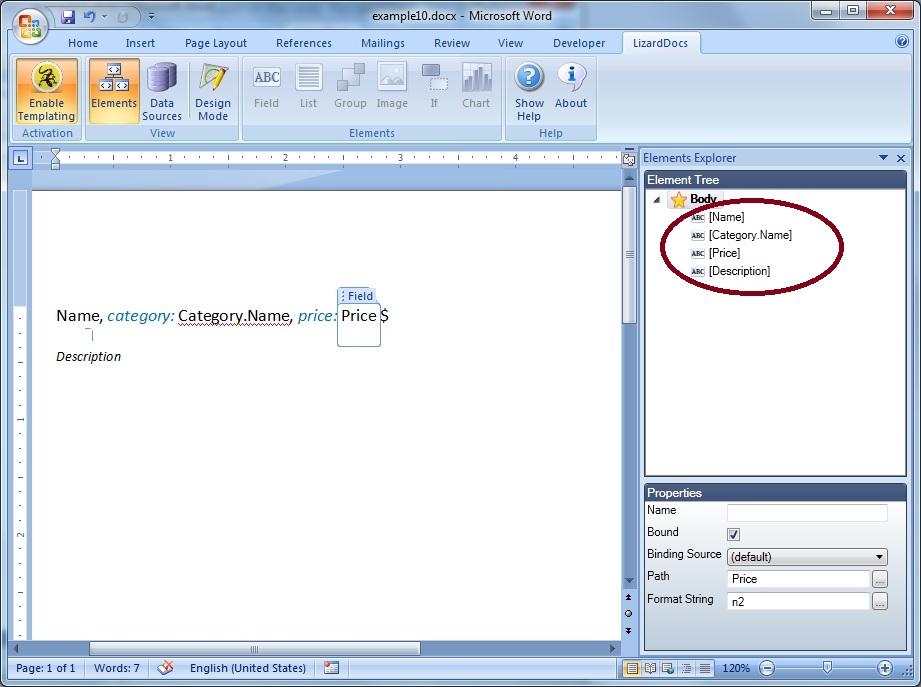
Note that on the picture the pane Data Sorces Explorer is turned off, that does
not mean that data sources are discarded; simply, we are not showing it to save
the space on the template.
Then insert Image element on the template:
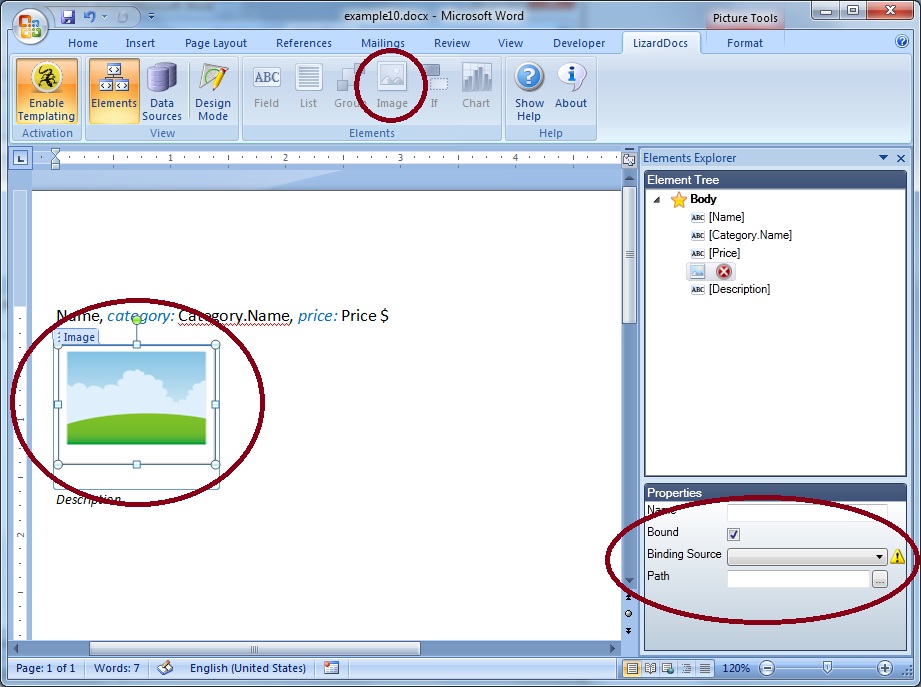
Adjust properties Binding Source and Path. Notice that the Image element
is bound to the property Image of the class
Product which is of type byte array:
Finished template (with Design mode turned on) looks like:
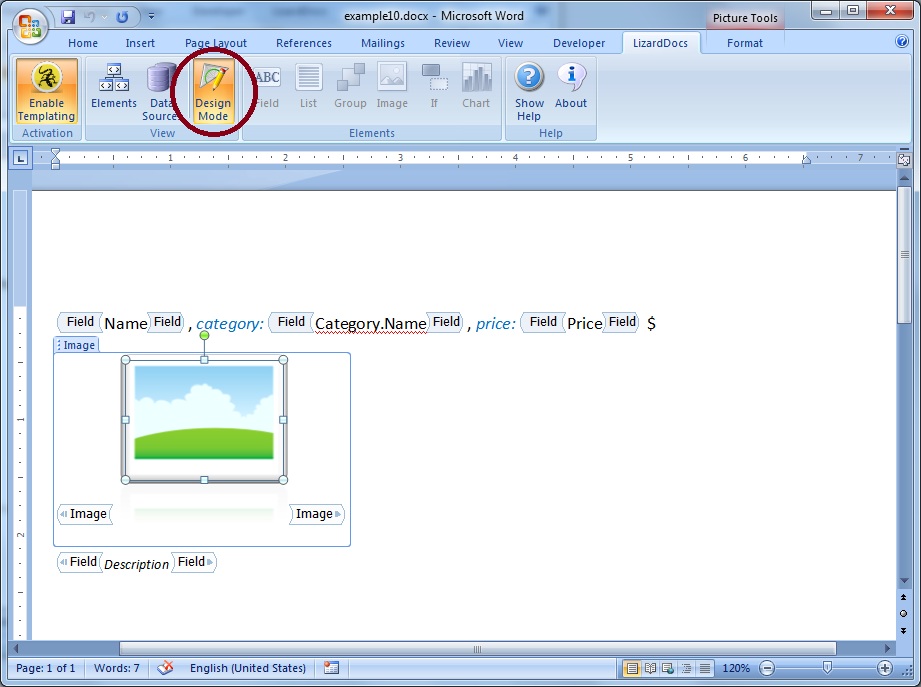
Remarks:
- Image element has to be bound to the one object’s property which is typed
of byte array. Type of the concrete image (jpg, png, tif
etc.) is not needed to be provided, since Word internally knows to deal with the
image content itself.
- Dummy picture that is placed within an Image element is there for the purpose
of formatting in any way, including text wrapping, tuning of the size of the picture
etc. Rendering of Image element will be performed by replacing it (together
with dummy picture) by the content behind its bound property of type byte array
and by keeping, at the same time, all the characteristics of the dummy picture.
- Dummy picture could be deleted from the Image element and new picture with special size could be inserted instead. No matter which picture is used, formatting and other picture’s properties tuning are going on in the same manner.
Now when we have a report template saved, we can proceed to generation of the report. Report generation takes place programmatically, from your application that is using (has a reference to) the LD ReportEngine dll. This code looks like following:
// Instancing report engine, by assigning the data source
DocumentGenerator dg = new DocumentGenerator(DataAccess.GetProductById(33));
// Generating report by specifying the report template and the resulting
report (as file paths)
DocumentGenerationResult result = dg.GenerateDocument("example10.docx", "example10_output.docx");
// Examining potentially errors
if (result.HasErrors)
{
foreach (Error
error in result.Errors) Console.Out.WriteLine(error.Message);
}
It is also possible to invoke the method GenerateDocument with same parameters typed as System.IO.Stream.
Generated report looks like: