
Common preparation steps of template design |
Docentric Toolkit Help
Send Feedback |
One of the important steps in document generation and reporting process is creation of a document template. Since a Docentric Toolkit template is just an ordinary Word document we always use MS Word application to design templates.
In order to to create a new template Docentric Toolkit needs to be installed on the computer. This will ensure that the Add-In for MS Word
is available while editing the template. It is also possible to edit templates with MS Word applications without installed Add-In
but in this case users won't be able to add new tagging elements or change existing ones.
There are common preparation tasks needed to be done when creating a new Docentric Toolkit template:
- Open a new Word document or load an existing one, select the Docentric Toolkit Ribbon tab and click the Use As Template button.
(see Making a Word dokument a report template)
The document is now marked as a template and you can start placing tagging elements onto it.

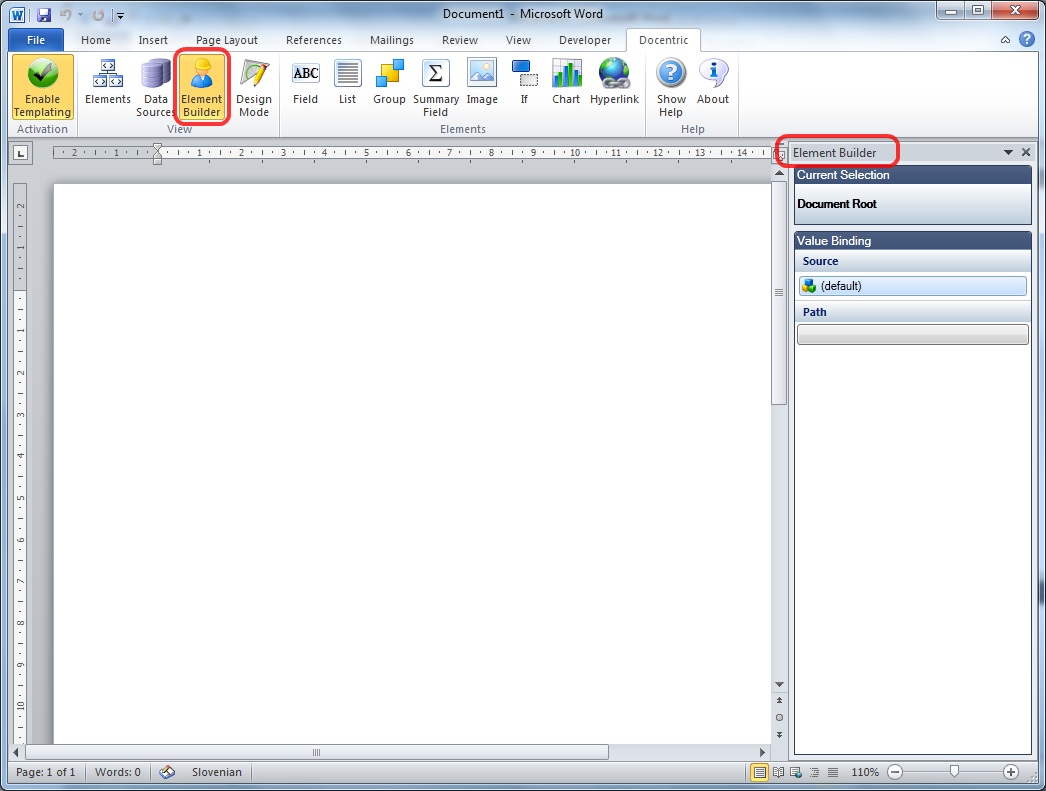
- Turn on Data Sources and Elements Explorers by clicking the the buttons on Docentric Ribbon tab,
as shown on the picture below:

For placing tagging elements onto a template the buttons in the Docentric Ribbon tab are normally used. The Add-In also provide the Quick Builder pane as the alternative way of adding tagging elements. The Quick Builder pane allows rapid insertation of tagging elements but should only be used if you fully understand data binding concepts.
- Optional step: Set the schema for data source(s).
This step is not required, but if you provide a schema for a data source, tagging elements data binding wil be as simple as picking a field in the schema tree
in the Binding Control.
A newly created templated has at least the default data source but you can add additional data sources if needed.
For detailed explanation on how to manage data sources see the Managing Data Sources section.
To set the schema for a data source first select the data source in the Data Sources Explorer pane and then click the Import Schema button (this steps show how to import the schama for a ".NET Object" kind of data source. For other kinds of data sources the steps to import a schema are similar):

In the file dialog choose the .NET assembly file and then find and select the target .NET type thet you would like to use as the schema for the data source:

The image below shows the result:
